First response
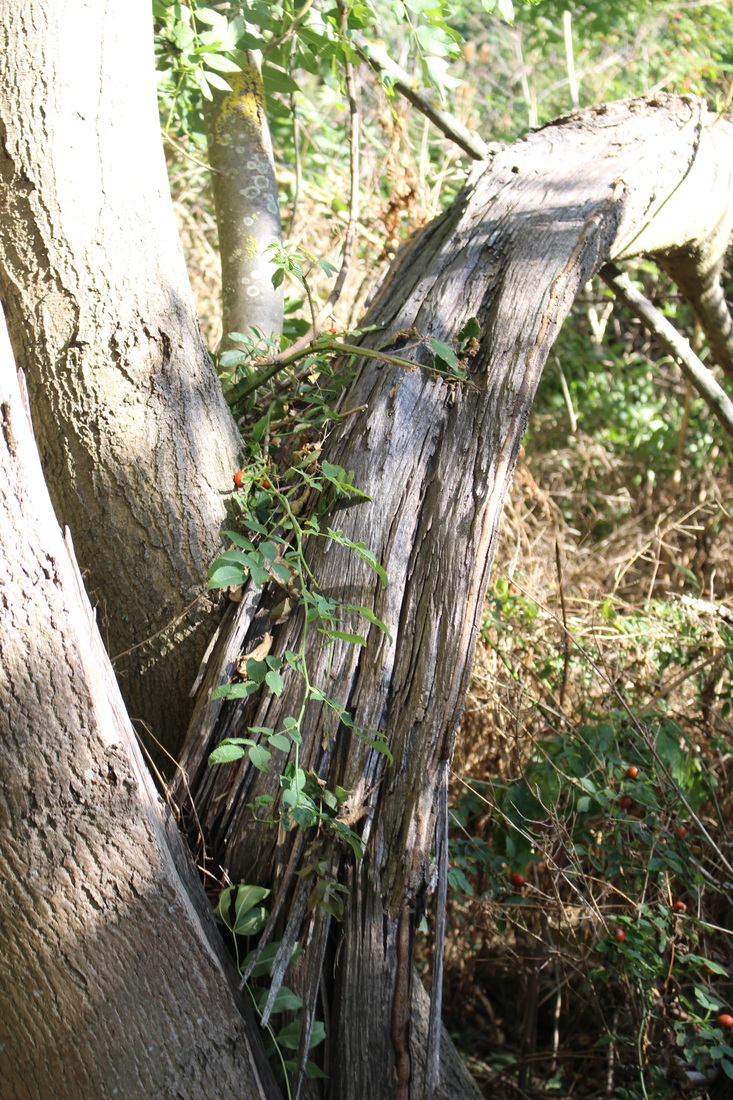
I went to Coppetts wood to take this picture. I used this one because i liked the plain grey colour of the dead wood alongside the lifelike green bramble. Another reason was because the cut open trunk reminded me of a gash.
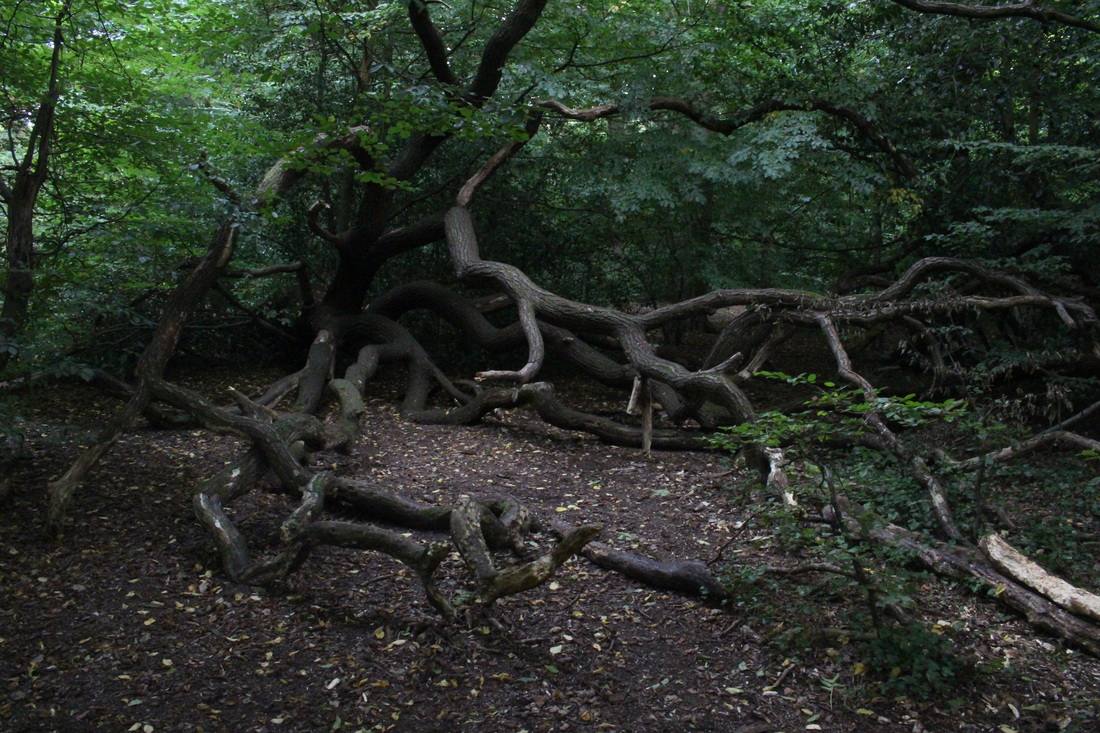
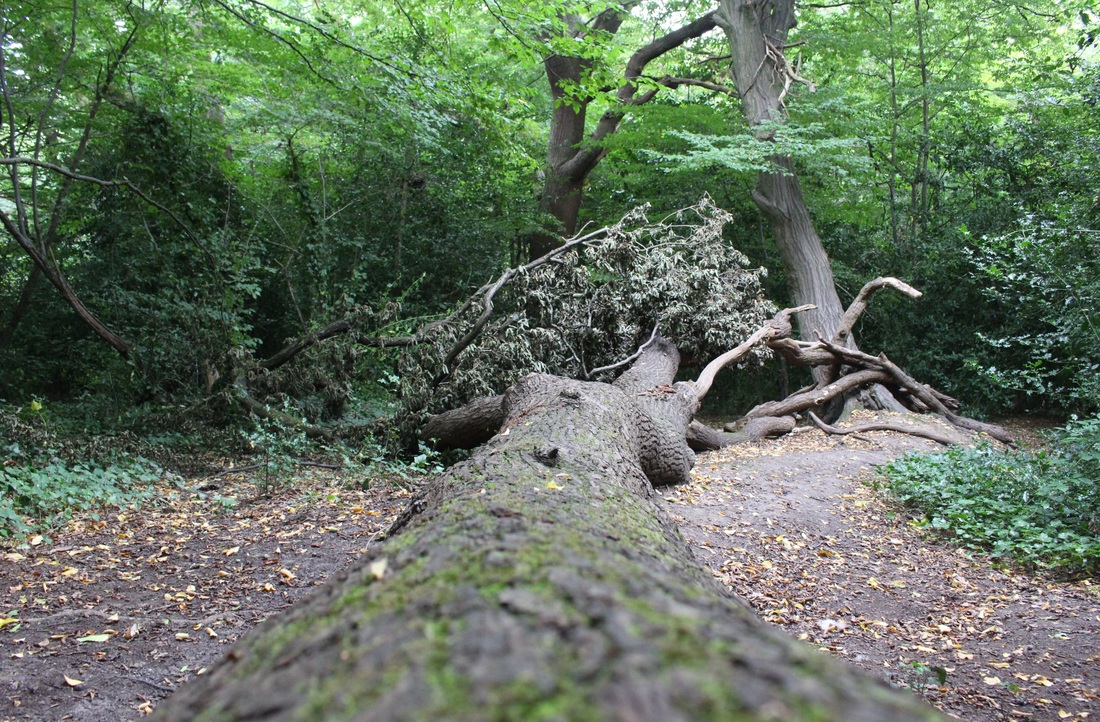
This tree was in queens wood and i liked it because i liked the how the branches were all sprawled out, and how it sort of resembles an octopus.
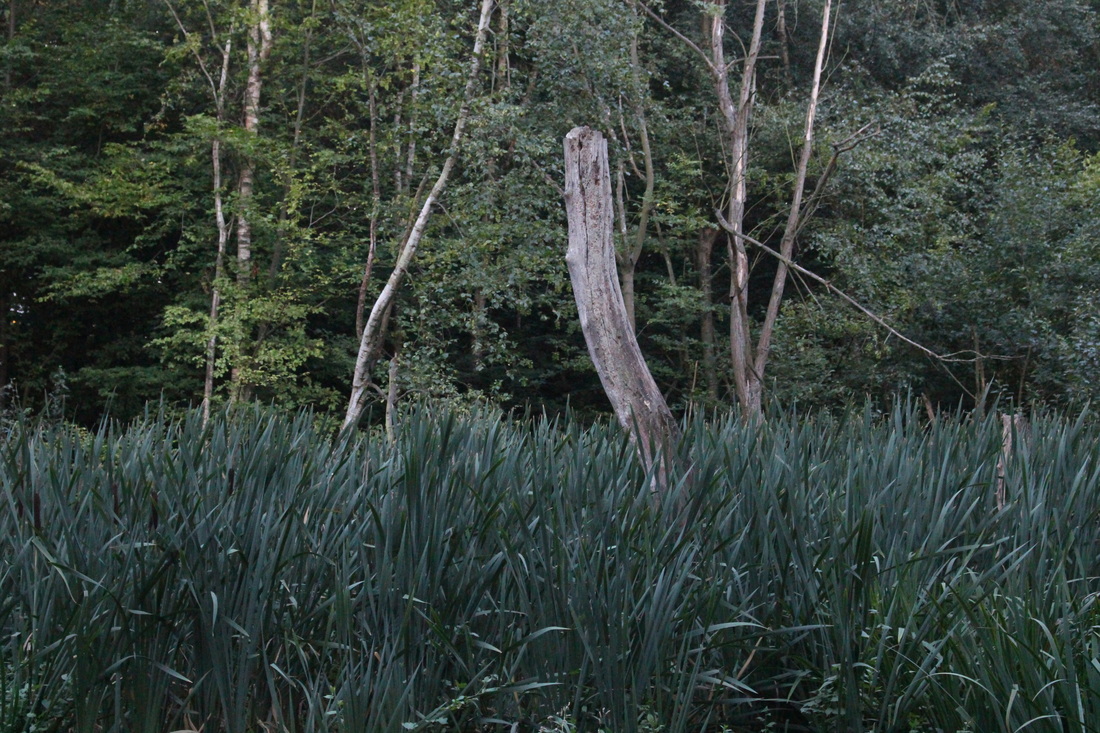
This was in Coldfall woods and i liked the difference in vegetation and the different shades of green.
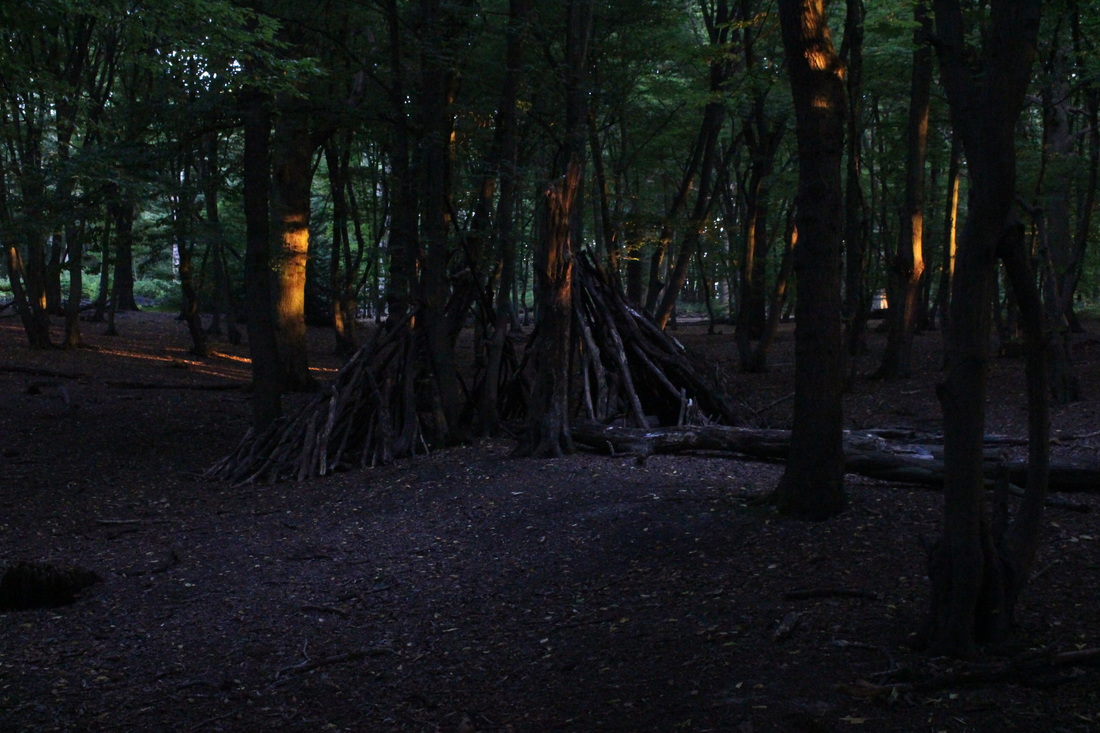
This picture was taken in coldfall and i used it because i liked how only windows of light could find its through the dense tree cover. These gold coloured beacons stand out in the picture.
|
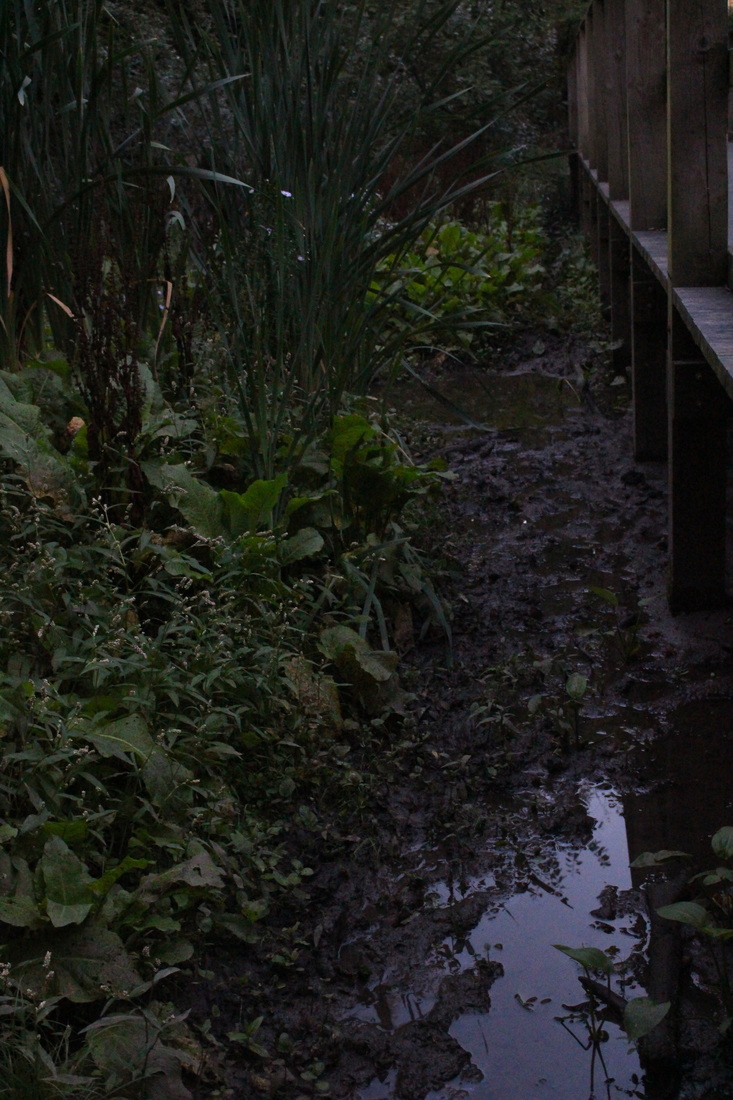
This picture was taken in Coldfall woods; you can see where the shadow is formed by the bridge because the vegetation stops. Where it should be is a muddy stagnant bit. This shows how the sun is essential to life.
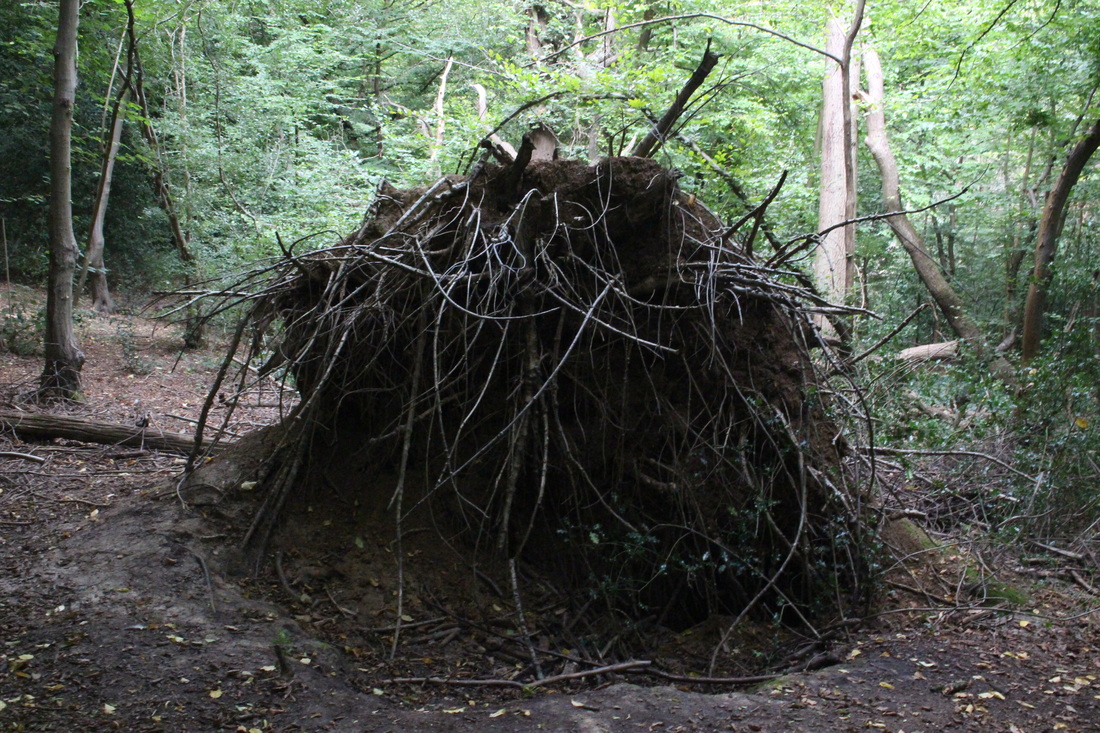
I went for a walk off the path in queens route and i found this uprooted tree. The roots like arms reaching out made an interesting picture.
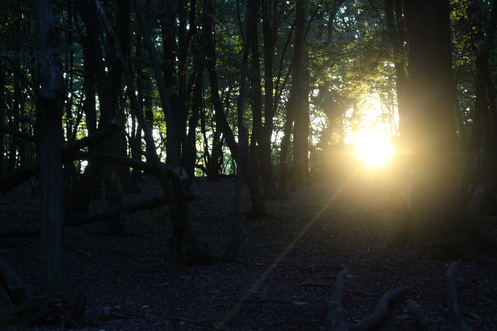
It was around sunset and only parts of the wood were light because the sun couldn't get through the trees. The contrast of the light sun and the dark trees is powerful and as a result the sun really stands out.

I focused on the cats face to show that it was the subject. The fact that its behind bars shows that the cat, a metaphor for nature, is oppressed.
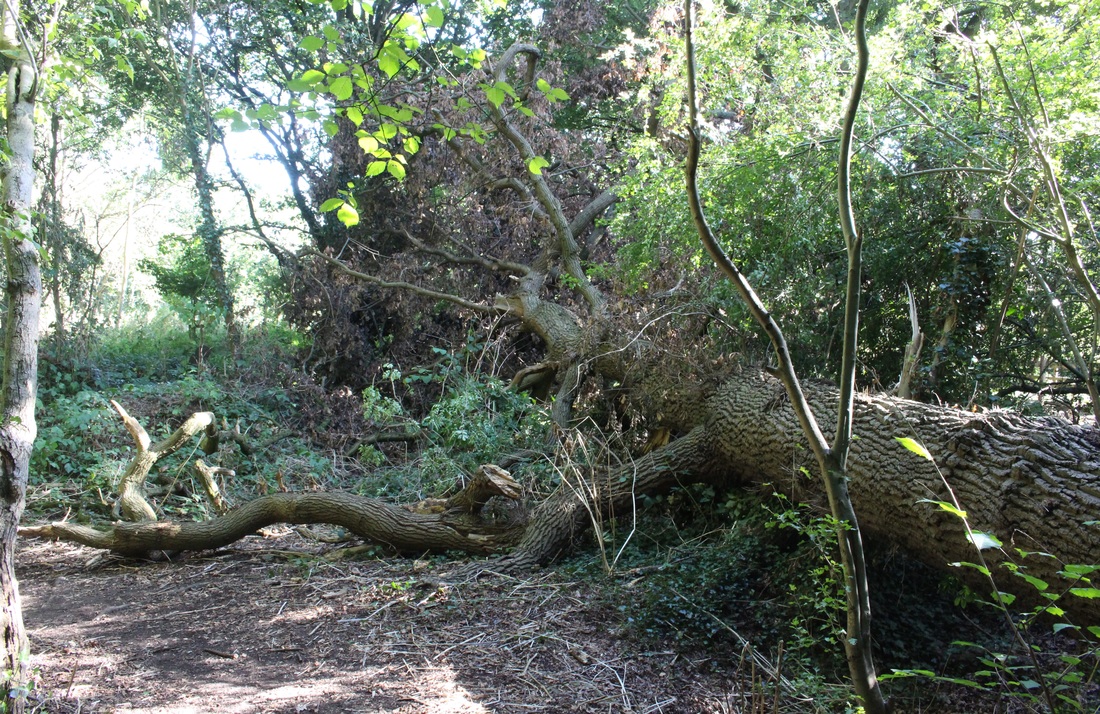
This is another uprooted tree however it is taken from a different angle to the one before. The angle could mistaken as it could be looking up a rooted tree, this is if you don't look at the ground.
|
Early History
|
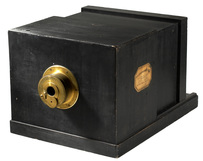
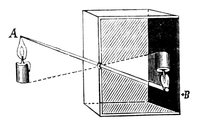
In the Renaissance period artists became fascinated by exploring and showing the reality of nature. Leonardo Da Vinci is famous for his anatomical drawings. The instrument which helped these pioneers, and arguably the first camera, was the camera obscura. This is a dark room in which a hole opposite a screen lets light through and creates an upside down image on the screen. It was used by artists to create very accurate drawings in which the perspective is perfectly captured. As the Camera Obscura evolved it got smaller and easier to transport. Later models incorporated lenses and mirrors and used a viewing surface to look at the picture instead of a large screen. It was used by draughtsmen and painters and became the first prototype for the modern day camera. Soon even smaller instruments were invented like the Camera Lucida which replaced the Obscura. These were used by artists as a portable optical device in which the artist could see his drawing and the object simultaneously. There are no optical similarities between the devices and the Lucida doesn't require special lighting conditions. No image is projected by the Lucida. Both these devices were very useful as they made it possible to make accurate drawings by using the screen of the Obscura to trace over or using the Lucida to look at the subject and the paper at the same time.
The reason for this is that with a camera everything has to be in focus because the camera doesn't know what part the person looking at it will focus on. However the eye needs only focus on the spot that the person is looking at. As a result these instruments produced a much more accurate picture. The Industrial Revolution transformed our technology which enabled Joseph Niepce in 1827 to take the first successful projected image out of his window in the south of France. He worked with Louis Daguerre, a painter of stage sets and illusionistic scenery for the Diorama (a visual entertainment popular in France), who would later invent the Daguerreotype. It was in 1839 that Daguerre announced his invention where a photograph was laterally reversed and printed onto a metal plate. First a silver-plated copper plate is buffed and polished until it looks like a mirror. Secondly the plate is sensitized to light over iodine and bromine in a specialized light-proof box. Next, the yellow-rose, in colour, sheet is transferred via a light-proof holder into a camera where it is exposed. This first took 15 minutes but adding silver halides decreased the exposure time to below a minute. Finally it is developed or 'brought out' over hot mercury, fixed by immersion in a sodium thiousulfate solution then washed using distilled water. The very last step is to, using gold chloride, tone the plate. Meanwhile in England a scientist named William Henry Fox Talbot invented another type of photography called the Calotype which he published in 1841. This process includes the concept of the negative positive process. Firstly writing paper was washed in silver nitrate solution then potassium iodide solution leaving time after each wash for the paper to dry. |
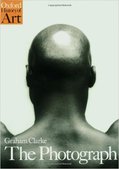
the photograph
by graham clarke
|
The first chapter is called "What is a photograph?" and gives a short history of photography starting with the first "heliograph" by Joseph Niepce in 1826. It then continues through the decades until 1990 and includes images by Diane Arbus, Robert Mapplethorpe, Alfred Stieglitz, Edward Weston and Man Ray. |
|
Photograms
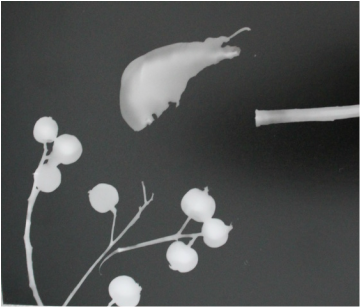
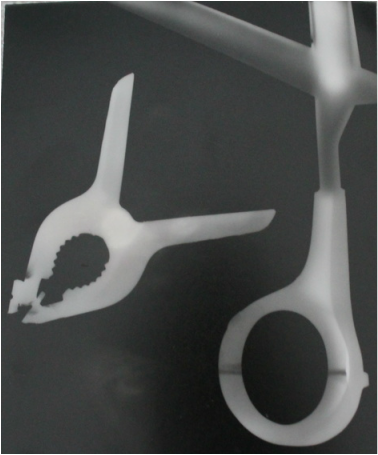
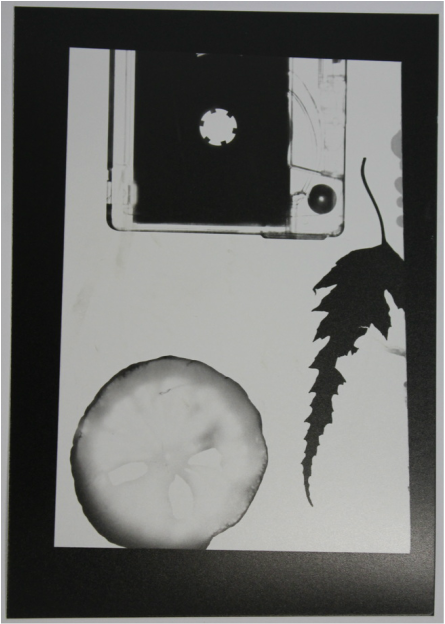
A photogram is a photographic image made without a camera by placing objects directly onto the surface of a light-sensitive material such as photographic paper and then exposing it to light. The usual result is a negative shadow image that shows variations in tone which depend upon the transparency of the objects used. Areas of the paper that have received no light appear white; those exposed through transparent or semi-transparent objects appear grey.
The process
1. Set up the enlarger so the light covers the whole piece of photographic paper.
2. Before you put the silver nitrate paper on the enlarger make sure there are no lights on in the room and that the safelight is over the bulb in the enlarger. Then place your items on the paper.
3. Then switch the enlarger on and expose it for 3 to 5 seconds.
4. Next put your paper into the developer for 2 minutes, then the stop solution for 1 minute, then fix for 2 minutes and place in a water bath for 3 minutes.
5. Finally put the photogram into the drier so all the liquid can run off.
The developer reduces the light-struck silver halides to black metallic silver.
The stop stops and neutralises the left-over developer which was on the paper.
The fix allows the image to be subject to light and not fade away.
|
|

Double exposure
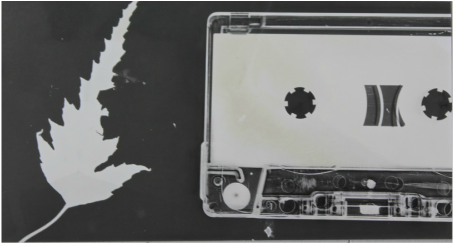
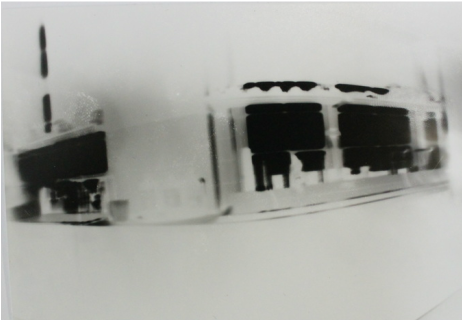
This process is exactly the same as a normal photogram except after two seconds I changed round the position of the objects then exposed the image again for two seconds.

Solarisation
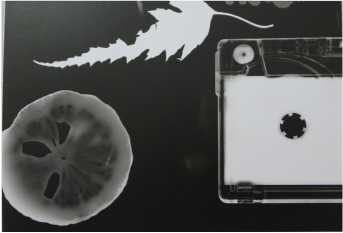
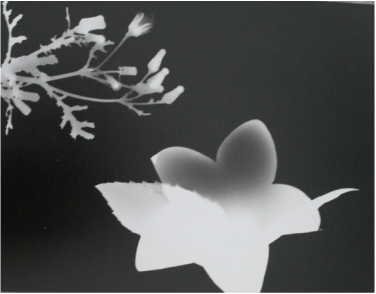
To get the solarisation look I first arranged my objects on a piece of silver nitrate paper then exposed it for 3 seconds. I then put the paper into the Developer bath until I could see the objects appear on the sheet. Once this happened I took the slightly developed image out and re-exposed the paper on the enlarger for a further three seconds. After this I continued the developing process for a normal photogram, where the image gets 2 minutes in the developer, 1 minute in the stop, 2 minutes in the fix and a 3 minute water bath at the end. Although the process is very similar the final product is different, this is because it is exposed twice, the second time being already partially developed. This results in a different tone in the white areas as they become grey.
Below are my attempts.
Below are my attempts.
|

|
Painting with developer
I placed my objects on the photographic paper on the enlarger and exposed it for 3 seconds. I then, instead of putting it in the developer bath, got a paint brush and painted and flicked developer onto the paper. I created a pattern using parallel diagonal lines which I left to develop for a minute. I then covered it with developer and left it to dry for another minute. I continued the normal process.
Below are my results.
Below are my results.
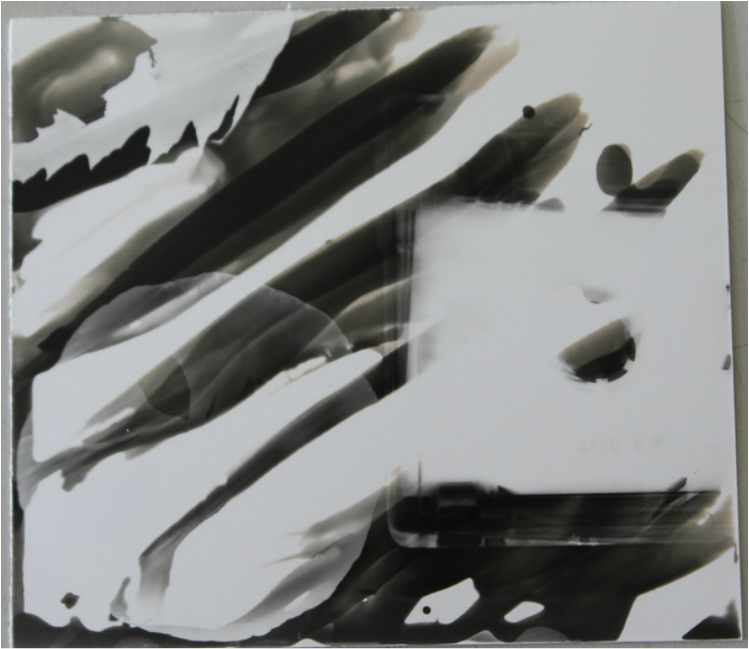
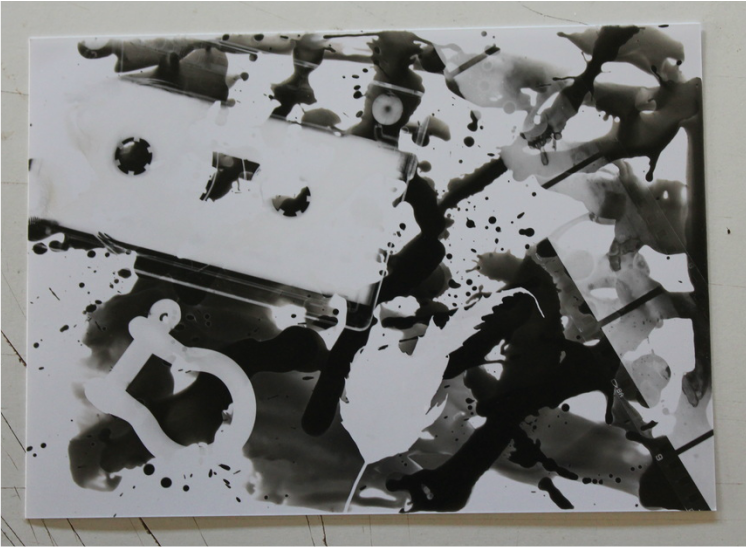
For this picture I did a mixture of painting on and flicking on developer which gave a variation of lines and dots of black and white.
positive photograms
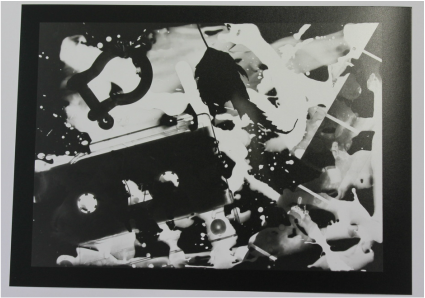
To make the positive I used a process called a sandwich print where you put silver nitrate paper on the enlarger. Then you put the negative you want to print face down on the paper and put a glass sheet on top of it. Next you place a black piece of card so that it half covers the photographic paper and expose it for 2 seconds. You then repeat this step but move the card about 15cm so that more of the negative is showing. Do this 4 to 5 times then determine what length of time makes the positive come out the best.
|
|
The pinhole camera
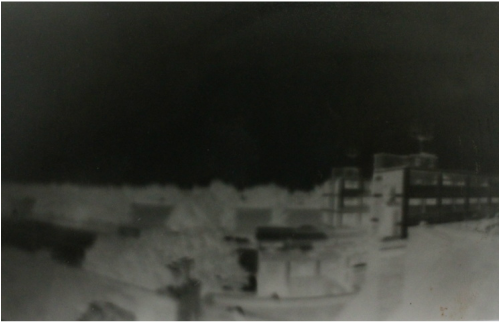
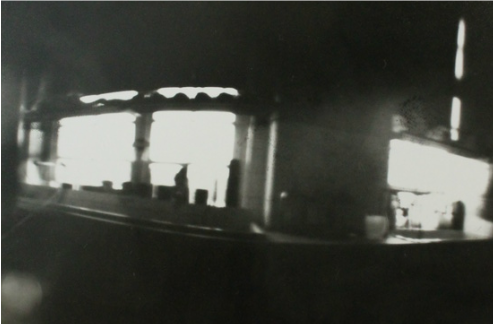
A pinhole camera is a simple camera without a lens but with a tiny aperture, a pinhole. It's effectively a light-proof box with a small hole in one side. Light from a scene passes through the aperture and projects an inverted image on the opposite side of the box, which is known as the camera obscura effect.
|
|
sandwich print
|
|
The film camera
type of camera
|
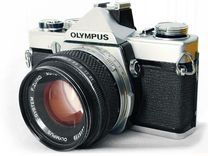
I used a 35mm SLR camera which stands for single lens reflex. This illustrates how the light passes through the camera's lens which allows the viewer to see directly through the lens due to a mirrored 'shutter'. When the shutter is released light hits the film for a certain period of time. As a result the shutter does two things; as a mechanism for allowing light to hit the film for a fixed time as a viewer.
|
types of film
Photographic film is made of a type of plastic/acetate that is coated in a light-sensitive emulsion. The unit for light sensitivity is called ISO, which is standard across the world and stands for International Standardization Organisation. Below there is a basic breakdown of the different sensitivities:
- ISO 25-100 : Slow Flim (Low sensitivity)
Benefits: fine grain, excellent quality
Disadvantages: needs strong light source - ISO 200-400 : Medium Film (Mid sensitivity)
Benefits: good quality all round film
Disadvantages: can be too slow in low light - ISO 800-1600+ : Fast Film (High sensitivity)
Benefits: good in low light/dark settings; no need for using flash
Disadvantages: grainy quality
Exposure
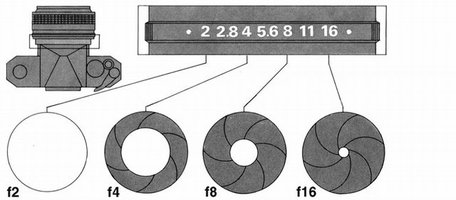
This is the quantity of light or other radiation reaching a photographic film. Achieving an even exposure is a combination of having the correct shutter speed and aperture settings, which in turn will lead to a photograph where there is a good distribution of tones from dark to light. Sometimes a scene has too much contrast and it will not be possible to get a good even exposure from a single shot. For dramatic effect a photographer may overexpose or underexpose a photograph.
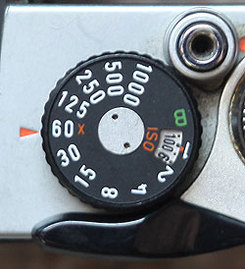
shutter speed
|
The shutter speed setting determines how fast camera shutter opens and closes when taking a photo. A long shutter speed opens the shutter for more time allowing more light in and hence exposing the photograph more. If the shutter is opened for too long the picture can become overexposed.
|
contact sheets
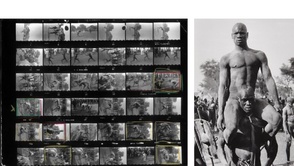
A contact sheet includes all of the frames from a roll of print film from one particular shoot. A photographer would use this to determine which photographs to develop. An example of a contact sheet is too the right. This was photographed by George Rodger in South Sudan in 1949 for Magnum.
my contact sheet
My contact sheet consists of portraits. I took around 15 photos focusing on the face in various locations in and out of school.
in different locations with different emotions. I took these in and out of the school.
in different locations with different emotions. I took these in and out of the school.
